It is easy to replace the bottom of the kitchen cabinet. Moisture can affect the closed kitchen cabinets that can swell the wooden blocks.
Can You Replace the Bottom of a Kitchen Cabinet? You can replace the bottom of the kitchen cabinet by turning off the water supply in the kitchen. For this purpose, you should clear your work surface by removing things placed in them. You should take off the cabinet door to clear the hurdle in the procedure. Furthermore, take exact measurements of the interior cabinet and the new wooden piece to replace the bottom of the cabinet. Now you can install a supporting board to make the cabinet floor. You can add a centerboard to them and then fix them with nails or glue to secure them correctly.
For this purpose, you will require some tools like a wooden block, glue, hammer, nails, and a drilling machine.
Turn off the water supply
Water supply in the kitchen is essential to perform kitchen chores efficiently. The plumbing system in the kitchen is present in the cabinets underneath your sink.
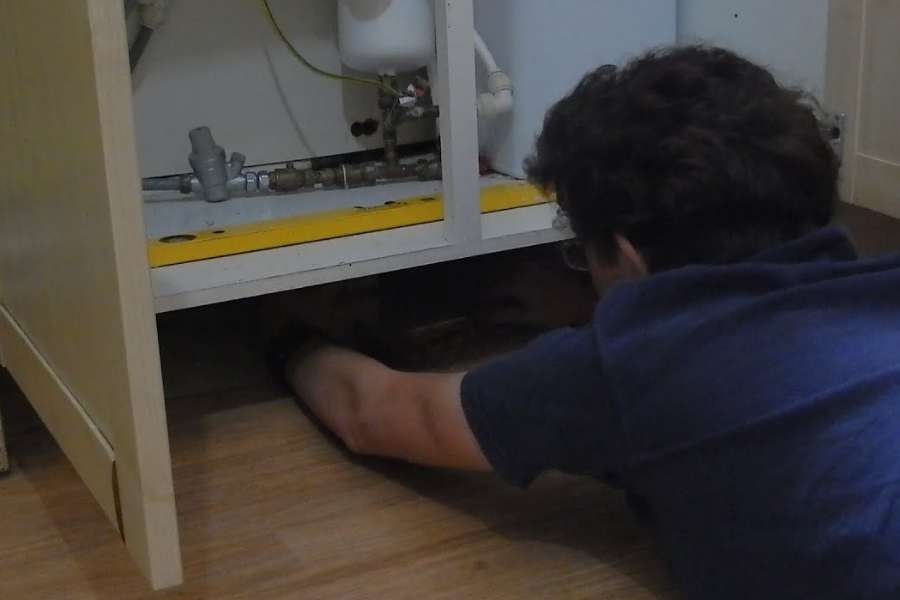
The cabinets below your kitchen sink are prone to damage because they are exposed to moisture. If damaged, it becomes essential to replace the bottom of kitchen cabinets.
The first step to remove the bottom of the cabinet is to turn off your water supply in this place. It is better to disconnect drains and pipes while replacing the cupboard.
Turning off the water supply in the kitchen before repairing is essential; otherwise, it will create difficulty for you to replace it.
Shut-off valves are present underneath the sink, and you should turn them to cut off the hot and cold water supply.
Turning off the water supply will make it easy to replace the bottom of the kitchen sink cabinet.
Prepare your kitchen cabinet surface
Kitchen cabinets are designed to place kitchen utensils at an easy reach to make cooking easier for you.
Preparing its surface is an essential and east step before replacing your cabinet.
Remove all the items placed at the bottom of the cabinet to make its replacement easy.
Next, clean its surface with a duster or a soft cloth to remove dust and debris.
You can use a sheet to spread it in front of the cabinet, which will be helpful to place collected items from your cupboard.
Sink kitchen cabinets are dirty if they are not cleaned regularly, and the use of a sheet will protect the floor from dust and grime.
They can contain pieces of cracked paint, and you should clean its floor by removing them.
In addition, there are chances of nails in damaged and cracked cabinets you want to replace. Therefore, it is essential to remove them carefully before installing a new cupboard.
A damaged cabinet leaves behind the scrapped pieces of wood, and it is essential to remove them before installing a new piece.
In addition, some cabinets are connected by glue, and you should prepare its surface by removing them.
Clean any mold
Growth of mildew is typical in the cabinets, especially present underneath the sink, and it is an essential step to clean it.
You can use disinfectants of your choice, including vinegar and bleach mixed in water.
Apply the solution on the surface for some time and clean the surface of the cabinet with a soft brush to ensure all spores of mold have vanished.
Remove the door of the cabinet
Easy access to your kitchen cabinet is essential for its replacement, and removal of the cabinet door is a crucial step to proceed.
Removal of its doors is not challenging, and you will be able to do anything without causing hurdles once you remove them.
Normally its door is screwed on hinges, and all you need is to unscrew them to detach it.
No matter how the bottom of the cabinet was installed before, you can easily remove the old and damaged part.
You can use a hammer to hit the damaged bottom of your cabinet until it is removed from its sides. You can also remove the rotten wood by punching holes in it.
Take measurements
Taking measurements is one of the basic steps to follow if you want to replace the bottom of your cabinets.
First, take the measures of its interior from all the sides to find the width and length of the cabinet to install a new surface.
Exact measurements are necessary to correct the bottom of kitchen cabinets. It is also essential to measure and match its size with the new wood piece you want to install as a bottom.
The new wooden piece will not be installed in the cupboard if there are errors in measurements.
Install supporting board
Supporting boards are installed around the interior of base cabinets to provide a framework for attachment of the new cabinet bottom.
It is essential to use good quality wood such as plywood or pallet wood to make the base of the cupboard more pliable and prevent easy damage.
Take measurements of a plywood board and interior from all dimensions to make installation correct and accessible.
If the plywood piece does not match the size of the interior of the cabinet, then you should cut it to make its adjustments accordingly.
Spread adhesive at the new wood pieces and at the bottom to make a strong bond for proper fitting. Next, install plywood along each side, fixing it from the front and the back.
After setting its floor, some people prefer to use a drilling machine instead of adhesives to secure supporting wood to the base.
Add centerboards
Now, add the board to its interior after making its floor as a replacement for the damaged cabinet bottom.
It is also necessary to take measurement of the centerboard and adjust it in the cabinet accordingly. You should pay attention to the high quality of wood to maintain its integrity.
Installing the centerboard is easy, and it slides smoothly if there is no centerpiece present. First, divide the centerboard into two halves to fix it with a centerpiece.
Secure with nails
Secure the bottom of the kitchen cabinet by screwing it tightly with nails and nuts.
In addition, you can also use glue for fixing the board to the bottom of the cabinet.
Finally, you can fill the gaps around the edges of the wooden board by using caulk to finish the procedure.
Related Articles: